DIY Watercolor Pillows

DIY Watercolor Pillows:

https://www.etsy.com/listing/205705529/watercolor-pillow-throw-pillow


What you'll need: Scroll down to see where to purchase stencils, paint and sponges

- pillowcase or cushion case
- acrylic paint or fabric paint (not watercolors)
- water
- brushes
- card board
- stencils
- sponge

How to do it:

1. Grab your pillow case.


2. Mix some water with your paint. The thinner the paint the lighter the color. Test it on some scrap fabric first, and start with a lighter color if you're worried. You can always add more paint later.

3. Make sure to put a cardboard between the layers of your pillowcase before painting so that the paint doesn't go through both layers.

4. Choose your design. I usually like to use wall stencils or tile stencils as I think it gives a certain charm to the pillow. To blend in the colours you can use a sponge by gently dabbing it. The not wet the sponge or it'll smudge your design.


Listed below are the items you need to recreate this pillow. They are all available on Amazon at a very reasonable price. This stencil is one of my absolute favourite patterns and just looks amazing anywhere! I mean imagine how it would look on your couch or bed or even as a birthday present?!


Here are some other inspirations:


For the giraffe and sea turtle watercolour pillow, you can use a similar stencils also available on Amazon:


5. Once you have finished your design, let it dry overnight.

And there you have it. A beautiful watercolor pillow! I hope this tutorial was helpful!

Enjoy!

Paper Butterflies

Paper Butterflies

What you'll need:


  • Old wall paper cut offs or thick pretty paper. I used the same paper for the whole project. I had off cuts of the Osborne & Little paper 'Soubise' that really suited Miranda's moroccan-esque nursery.
  • A printer and A4 paper for making your stencils.
  • Bits of cardboard.
  • A pencil.
  • Paper scissors.
  • Blu tac.

How to do it :

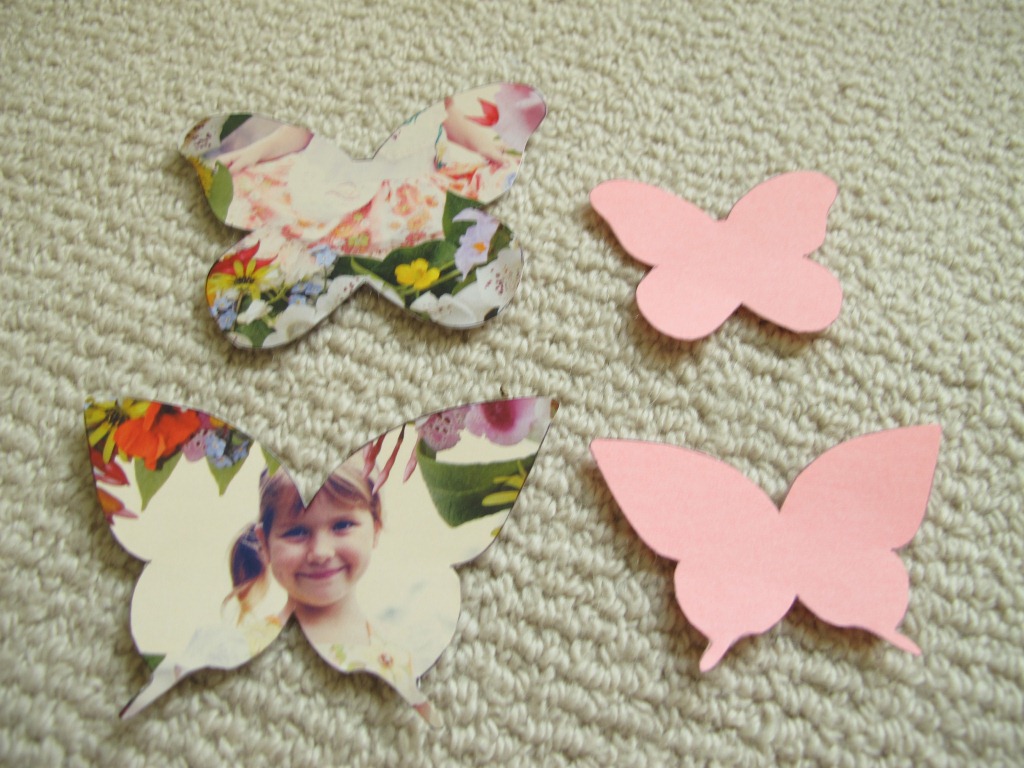
1. Print out some butterfly shapes - you'll find a ton via a Google search. Then cut out the butterflies from the paper. The different sizes make the result much more interesting and realistic.


2. Trace around the paper onto the cardboard and cut them out. Alternatively, you can print straight on to cardboard if your printer is that talented. These are your stencils!


3. Trace lots and lots of the butterflies onto the back of your paper and cut them out.

Cutting them out is the kinda thing you can do in front of the TV. It takes about an hour. You'll get really fast at it. They don't have to perfectly cut either, they just have to look like butterflies.

Fold them down the middle so they have little flappy wings!


4. Ok this is the fun bit. Put a dot of blu-tac on the underside and start attaching them to your wall. Pinch the wings up a bit and press into the spine with your thumbnail to stop them attaching flat to the wall.

There is a teensy bit of design in the arrangement of the butterflies. You want them to sort of move in the same direction.  Mix up the sizes. I thought the little ones were more like to stray so I added a few of them around the edges. I followed a general funnel shape - as if they were all flying out of a box into the open air!


All done! Now admire your work.


Enjoy!


DIY book clutch


DIY Book Clutch: inspired by Natalie Portman's Lolita Book Clutch

What you'll need:

- a hardcover book
- a clasp
- glue
- a paintbrush
- a ruler
- an x-acto knife                                                                                              


How to do it:


http://runwaydiy.com


Enjoy!

Cupcake giftboxes

Cupcake Giftboxes


What you'll need:

- Paper mache boxes: any size
- Foam balls ( same size as boxes)
- Glue gun
- Fabric & accessories


How to do it:

1. Cut foam balls in half


2. Hot glue foam on top of the boxes.


Here are two different way to decorate your cupcake giftboxes:

FABRIC/RIBBON WRAPPED CUPCAKE:


1. Hot glue the ribbon's end onto the top of the ball.


2. Twist the ribbon around itself, hot gluing it to the ball as you go. Keep wrapping until you have covered the foam ball.

3. Add accessories.


CHOCOLATE SHAVING FELT CUPCAKE:


1. Cut 1 inch of felt squares and dab hot glue in the middle.

2. Pinch the square into a triangle and hold until the glue dries.

3. Dab hot glue at the base of the newly formed triangle.


 4. Pinch the triangle in half again and hold until the glue dries.

5. Cut off pointed end and dab hot glue where you have just made a cut.

6. Hot glue it to the foam ball and continue until the entire ball is covered.

7. add accessories.


http://sewcraftcreate.com/2011/04/cupcake-giftboxes-2/

Enjoy!


Shop SheIn for the latest in Fall and Winter Fashions