Stranger Things T-Shirt

SHOULD I STAY OR SHOULD EGGO?

I'm in an 80s mood so i shall continue with yet another Stranger Things themed project. I have today for you a fashion DIY. So you might have noticed these "Should I Stay or Should Eggo" t-shirts and sweaters online and you may have also noticed that they cost quite a bit so instead of spending your money on the shipping fee, why not make it yourself? 
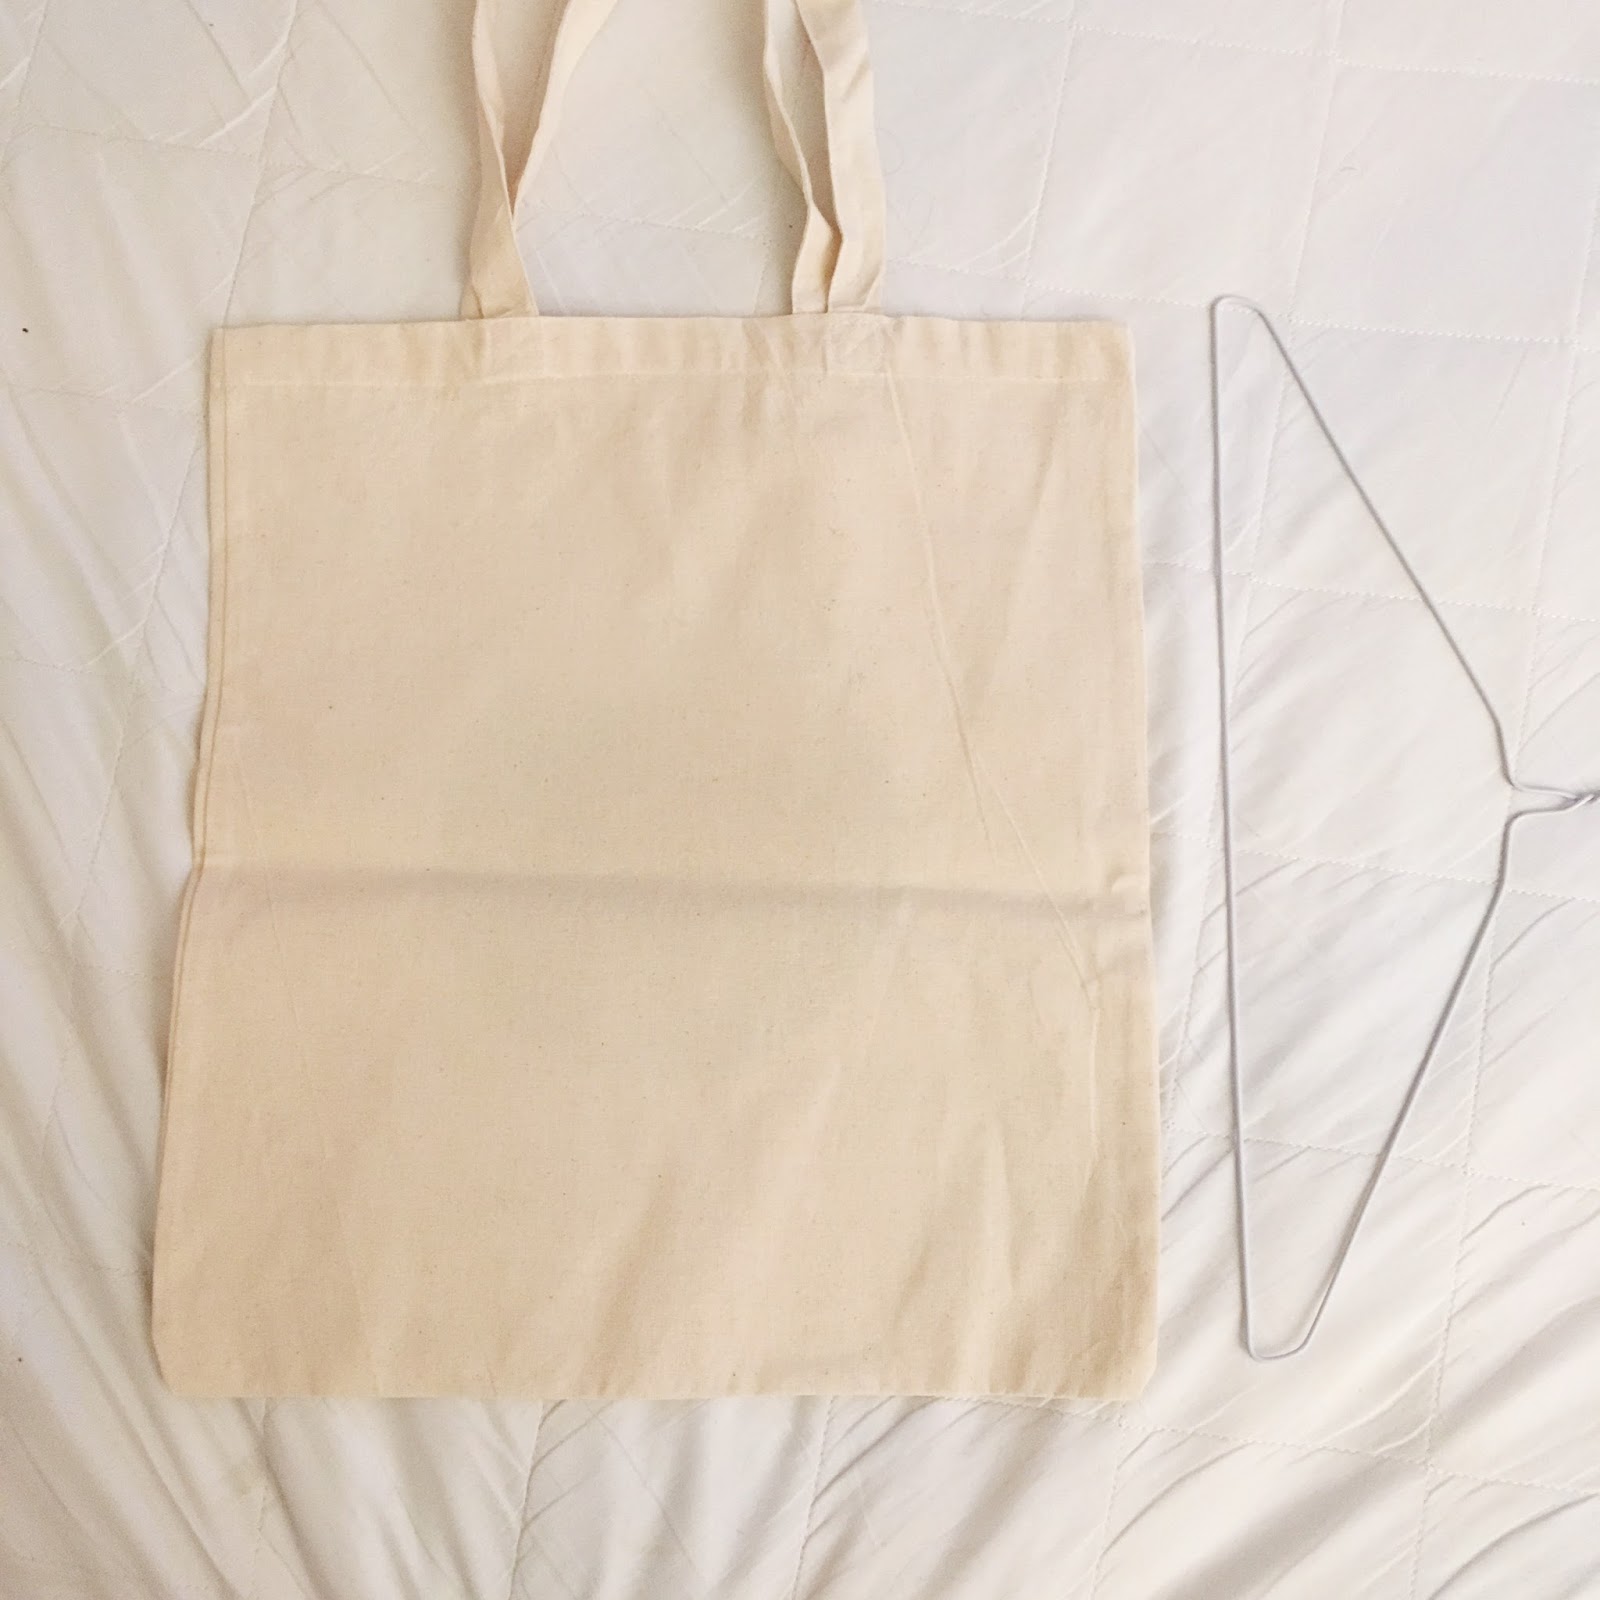


What You'll Need:

- plain white t-shirt
- transfer paper
- iron
- inkjet printer
- flat surface (table)
- scissors

How To Do It:


1. Prepare your image and print it on your transfer paper. For the one I used, I had to mirror the image and print it on the blank side so carefully read the instructions given with your transfer paper.


2. This is how the image appears once mirrored and printed onto the transfer paper.


3. Cut around your image and position it on your t-shirt. I advise not to have the image too high up. When ironing, it is best to use a flat surface e.g a wooden table. An ironing board is not advisable.  Heat the t-shirt up before by ironing it. For my transfer paper, the image must be face down on the t-shirt, with the red grid at the back facing upwards. I then slowly and consistently ironed the image for 3 minutes, with circular motions making sure to cover every section.


4. To fix the image, I used a silicon paper which came with the packet. I placed the silicon paper over the design and ironed it for 30 seconds and then peeled it off when it was still hot. 


Now you have a cute new t-shirt to add to your closet and one that you can show off to fellow Stranger Things lovers!

Enjoy!

Stranger Things Wall Art

Today's DIY is going to be a themed one. As a huge Stranger Things fan, I thought what could I do that is both super easy and super fun and really screams "Stranger Things". So I went for the famous alphabet that Joyce (Winona Ryder) uses to communicate with Will.  It is a great DIY and looks fantastic on my wall.


What You'll Need:

- Picture Frame
- Sheet of Paper (Size of your frame)
- Marker or Black Paint
- Mini multicoloured fairy lights

The fairy lights are available on Amazon: (I used the Bright Zeal 33'FT Led Battery Operated one)

 .  


How to do it:


So this is what the wall looks like in the first season of Stranger Things. You can use this as your model.


1. Start by drawing out your letters on your sheet of paper. What's great about this wall art is that you don't have to be neat.


2. Fill in your letters using your marker or black paint. Again no need to be neat. Paint a line above each row of letters. Grab something pointy and poke holes above the letters.


3. Grab your fairy lights and push them through the holes like so and all you have to do is place your alphabet in your frame and voila!


Enjoy!

DIY Enamel Pin Display Banner

I've recently started an enamel pin collection after my trip to Venice and wanted a cute way to display them. While scrolling through my Instagram feed, I stumbled upon an enamel pin banner. I thought "Oh! That looks great! Where can I get one?" After searching around London without result, I gave up and decided to make my own. So today I will be sharing with you my DIY enamel pin banner.


Don't mind my very small collection of pins! I've only just started and will continue collecting pins from all the places I travel to starting from now.

What you'll need:

- fabric (It can be felt or denim. I used an old canvas tote bag for mine.)
- chopstick (or any other stick)
- string or rope
- sheet of A4 paper
- pen or marker
- needle and thread (preferably white thread to match the banner)
- scissors
- a nice collection of pins

How to do it:


1. First off find the fabric you want to use for your banner. I suggest using canvas as it is easier to pin and also looks quite pretty. I was going to use a hanger to hang the banner but changed my mind after so please ignore it.


2. Take your A4 sheet of paper and fold the edges like shown in the photo.


3. Use your folded A4 to trace the outline of your banner. Once you've done this, simply cut around.


4. You're now going to sew your banner together. Start by folding the top, creating a crease. Sew around the edges without sewing the top. This is where your chopstick will go.


5. Slide the chopstick into the tube you have made for it. Take your string and attach it on either end of the chopstick. I used two tasseled strings and tied them together.


And voilĂ ! All you have to do now is put on all your enamel pins, hang it on your wall and admire it!


Still plenty of room for more pins!

Enjoy!
Shop SheIn for the latest in Fall and Winter Fashions