
What you'll need:
- Old wall paper cut offs or thick pretty paper. I used the same paper for the whole project. I had off cuts of the Osborne & Little paper 'Soubise' that really suited Miranda's moroccan-esque nursery.
- A printer and A4 paper for making your stencils.
- Bits of cardboard.
- A pencil.
- Paper scissors.
- Blu tac.
How to do it :
1. Print out some butterfly shapes - you'll find a ton via a Google search. Then cut out the butterflies from the paper. The different sizes make the result much more interesting and realistic.

2. Trace around the paper onto the cardboard and cut them out. Alternatively, you can print straight on to cardboard if your printer is that talented. These are your stencils!

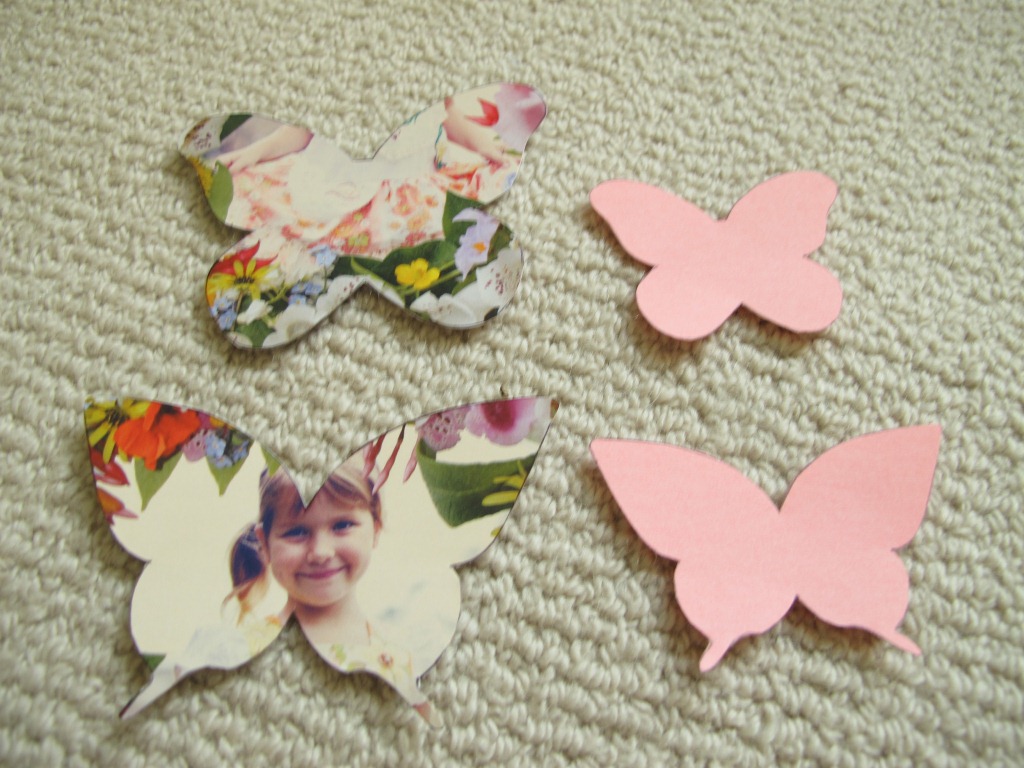
3. Trace lots and lots of the butterflies onto the back of your paper and cut them out.
Cutting them out is the kinda thing you can do in front of the TV. It takes about an hour. You'll get really fast at it. They don't have to perfectly cut either, they just have to look like butterflies.
Fold them down the middle so they have little flappy wings!
Cutting them out is the kinda thing you can do in front of the TV. It takes about an hour. You'll get really fast at it. They don't have to perfectly cut either, they just have to look like butterflies.
Fold them down the middle so they have little flappy wings!


4. Ok this is the fun bit. Put a dot of blu-tac on the underside and start attaching them to your wall. Pinch the wings up a bit and press into the spine with your thumbnail to stop them attaching flat to the wall.
There is a teensy bit of design in the arrangement of the butterflies. You want them to sort of move in the same direction. Mix up the sizes. I thought the little ones were more like to stray so I added a few of them around the edges. I followed a general funnel shape - as if they were all flying out of a box into the open air!
There is a teensy bit of design in the arrangement of the butterflies. You want them to sort of move in the same direction. Mix up the sizes. I thought the little ones were more like to stray so I added a few of them around the edges. I followed a general funnel shape - as if they were all flying out of a box into the open air!


All done! Now admire your work.


Enjoy!

Bit of an old post but found this via Pinterest. Really like the layout of the butterflies on the wall. :-)
ReplyDelete